When the ripper log file is available
This option was added to Picard in version 2.8, and supports the use of log files produced by supported popular CD file rippers. Because the log files of these rippers contain sufficient information to generate the CD table of contents they can be used in place of reading the CD. As with reading the CD itself, this method provides the greatest chance of tagging your music files with the most accurate match from the MusicBrainz database. It is also one of the easier methods for looking up the release.
1. Lookup the CD on MusicBrainz
Use the ripper log file to look up the release automatically by selecting the command. This will open a file browser dialog to allow you to select the log file to process. See the Lookup CD or Ripper Log section for detailed instructions.
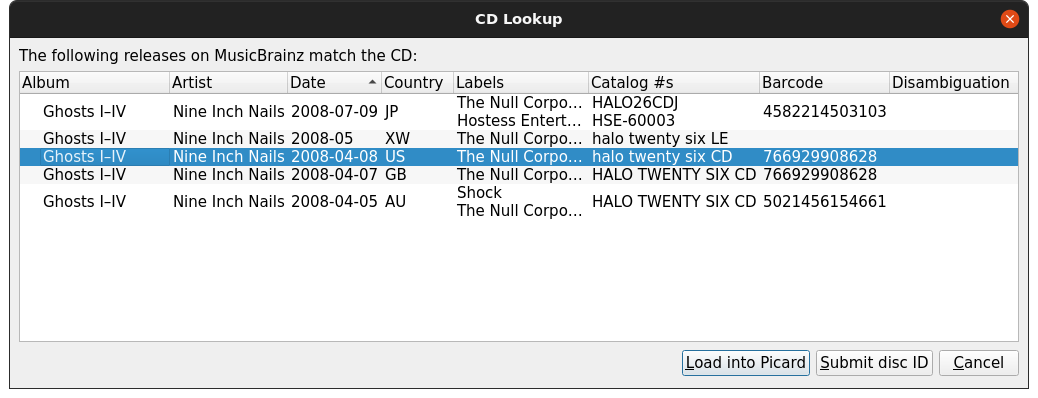
2. Select the correct release
A list of all releases matching the toc of the CD will be displayed for selection, with an option to submit the disc id if none of the releases are a match to your CD. Before proceeding, please check to ensure that the release you select properly matches your CD (e.g.: release country, date and label, catalog number, barcode, media type, and cover art). This is especially important if you are going to submit any information such as acoustic features to AcousticBrainz or AcoustID fingerprints.
3. Load the files
Drag the files or folder from the browser to the “Unclustered Files” section in the left-hand pane. You do not need to scan or cluster them.
4. Match the files to the tracks on the release
Drag the files from the left-hand pane and drop them on the release in the right-hand pane. Check that each track on the release is associated with only one file. The release icon should turn gold. See the Matching Files to Tracks section for details.
5. Verify the metadata and cover art
Check that the metadata and cover art image for the release and tracks are what you want. Adjust if required. See the Setting the Cover Art section for details.
7. Save the files
Save the files using the command. See the Saving Updated Files section for details.
8. Calculate and submit AcoustID fingerprints
This step is optional, but appreciated because it will help identify the files for others to look up for tagging.
Select the album entry in the right-hand pane and calculate the AcoustID fingerprints using . Once the fingerprints have been calculated, submit them using .
Note
AcoustID fingerprints should only be submitted after the files have been tagged with MusicBrainz metadata, and you have verified that the files have been matched to the correct track on the proper release.