Configuration
Once Picard has been installed on your system, the next step is to configure it to your preferences. The configuration consists of enabling the desired screen sections for display, selecting the desired actions, and setting the various options.
Screen Setup
The screen setup is found under the item on the menu bar. To enable the display of an item, simply check the box for the screen option. The items are:
File Browser
This displays a file browser on the left side of the screen for selecting files and directories for processing. Files and directories can also be selected using your system’s file browser by dragging and dropping them onto the Picard application.
Cover Art
This displays the cover art for the currently selected item (track or release) in a window to the right of the tags section of the display. This allows you to select or replace the cover art saved with the release.
Actions
This displays the button bar of the actions performed by Picard, located just below the menu bar.
Search
This displays the manual search box to the right of the “Actions” button bar.
Player
This displays the built-in player for playing selected audio files.
Action Options
The action options are found under the item on the menu bar. There are three available actions that Picard can perform when saving selected music files:
Rename Files
Picard will rename each file in accordance with the naming script.
Move Files
Picard will move files to the target directory in accordance with the naming script.
Save Tags
Picard will update the metadata tags in the files in accordance with the specified option settings and tagging scripts.
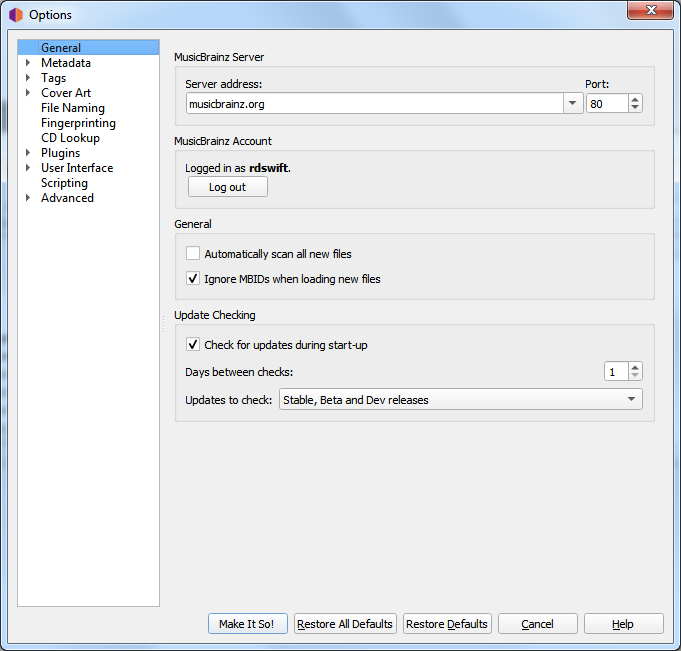
Option Settings
The option settings are found under the item on the menu bar. This will open a new window with the option groups listed in a tree format on the left hand side, and the individual settings on the right hand side. This is where the majority of Picard’s customization is performed.
See also
General Options / Metadata Options / Tag Options / Cover Art Options / File Naming Options / Fingerprinting Options / CD Lookup Options / Plugins Options / User Interface Options / Scripting Options / Advanced Options